This tutorial covers the steps of creating a bubble in Cyberpunk 2077. Details on creating characters, attributes and benefits, weapons, cyber projects and gameplay style are also included in this Cyberpunk 2077 guide.

Cyberpunk 2077 Leaf runner Construction
Create character
It is clear that each new game begins with the creation of a character. For the first time I’ve played a very complex scenario with this build (only recommended if you’ve already finished the game or if you have a lot of time for side issues, because it makes the main scenario much easier to complete).
The course of life or the sex is only important if you want to make up a nice story for V. The most important thing is to know where you put the 7 given attribute points. With this structure you want to have Reflexes and Freshness on level 6 in the beginning (my advice here is to put it 1 point in the Body Attribute). Now that you’ve created your character, let’s move on to the next point.
Features and benefits
The most important feature we have is the reflex that you want to invest in a Blade Branch. The first thing we have to do is maximize the reflexes as soon as possible. My advice is that you should reach both reflex level 12 and calmness. From now on, maximize your reflexes. We need the Cool attribute because of the cold-blooded branch, because there’s a lot of buffer. If you have reached both Reflex level 20 and Chill level, you have 32 levels left up to 50 (the maximum character level).
Personally I put my other points in the Body attribute and then in the Technical attribute (you don’t need the Intelligence attribute for this build up). As you progress through the game you can earn more points for bonuses in various quests and side quests, which you can spend at will (so don’t be surprised if the bonuses haven’t reached the maximum level yet and you don’t have any more points). You can also spend time raising the level of other affiliates and placing these bonus points in the affiliates you want. Now let’s look at the benefits.
Reflexes – Knives
- Sting Like Bee – You win attack speed, which is essential in prolonged battles (also note that a higher attack speed causes more damage).
- Roaring Waters – Strong attacks do more damage, and you’re more likely to start battles with a strong attack (essential).
- Purple dance – Combos have a higher chance (max. 30%) of causing bleeding (can be very useful in the beginning of the game).
- Blessed magazines – Increases the chance to become critical with magazines (an important bonus).
- Blood stains – Restores health after bleeding or hitting a bleeding enemy (very useful).
- Judge, Judge and Executioner – The first attack (at maximum level) causes 2x more damage to enemies with maximum health (an important bonus).
- Fire Burst – You deal more damage as your opponent’s health deteriorates (mandatory against bosses and enemies that pose a greater threat).
- Death lock – Works like a life force wave. After defeating an enemy, you regain your health (you also gain motion speed).
- Flight of the Sparrow – Don’t maximize this bonus to the end, as the Athletics Industry can progress more easily if you exhaust your stamina with attacks.
- Slow and steady, an unshakeable mind, offensive defense, butterfly-like float and quicksand are defensive bonuses you don’t need until the end. Moreover, the Stuck Pig and Crimson Tide bonuses make the bleeding more efficient, but you don’t really need them in the beginning.
Cold – Cold Blood
- Cold Blood – Gives the speed of travel (stacking up to 3 times the maximum level). Make a point here in advance, because then the branch can be further aligned.
- Will to survive – Gives resistance (important because there will be many scenarios where you will be in the minority).
- Critical illness – Increases the duration of the cold blood injection (you can make it last as long as possible later).
- Defensive Coagulation – gives you armor (important because there will be many scenarios to which you will be exposed).
- Predator – Increases the attack speed (usually good).
- Bloody Battle – Increases damage with melee weapons (usually good).
- Fast blood flow – Enables you to regenerate yourself in and out of combat in a foolish way (a necessary bonus).
- Cooling – Cold-blooded stacks are removed one by one rather than in one go (useful in long battles).
- Cold Blood and Unbreakable give you an extra pile of Cold Blood.
- Blood swelling – Provides the maximum amount of cold blood when health reaches 45 %.
- Pain is an illusion – it reduces the damage.
- Cold and Calculus – When you get a critical hit, there is a chance to apply a cold stack.
- Immunity – You are immune to all negative effects when Cold Blood is active.
Cool. Sneaky.
- Dagger Merchant – Makes it possible to throw knives (fancy bonus).
- Assassin – inflicts 15% extra damage on human enemies (most enemies are human).
- Leg Up – Increases the speed of travel after the grapple (synergy with the destruction branch).
- Cutthroat – Thrown knives cause 60% more damage (at maximum level) (only if the dealer’s dagger is unlocked).
- Van Shadow – Increases the beast’s chance of battle by 7 seconds.
- Death by deception – All incoming damage is reduced by 50% for 10 seconds (cannot occur more than once per minute) when health drops below 50%.
- Hasty retreat – Indicates the speed of movement for 5 seconds after detection (synergy with destruction branch).
Body – Athletics
- Regeneration – Regenerates health during combat (mandatory).
- Invincible – Increases maximum health by 30% (at maximum level) (very useful).
- True Grit – increases stamina by 30% (at maximum level) (useful at the very end).
- The heart treatment – Health recovers faster when you train.
- Steel shielding – increases the shielding by 10% (important).
- Indestructible – Reduces incoming damage by 10% (significantly).
- Dog of War – Increases the recovery of health by 30% (maximum level).
- Wolverine – Health regeneration is activated 90% faster during the fight (at maximum level).
Body – destruction
- Manic – Increases the speed of movement in battle (synergy with the legs-in-the-air advantage).
- Demon Speed – The faster you move, the more damage you do (synergistic with the Legs Up advantage).
- Shift – Increases the speed of movement after defeating an enemy.
Weapon
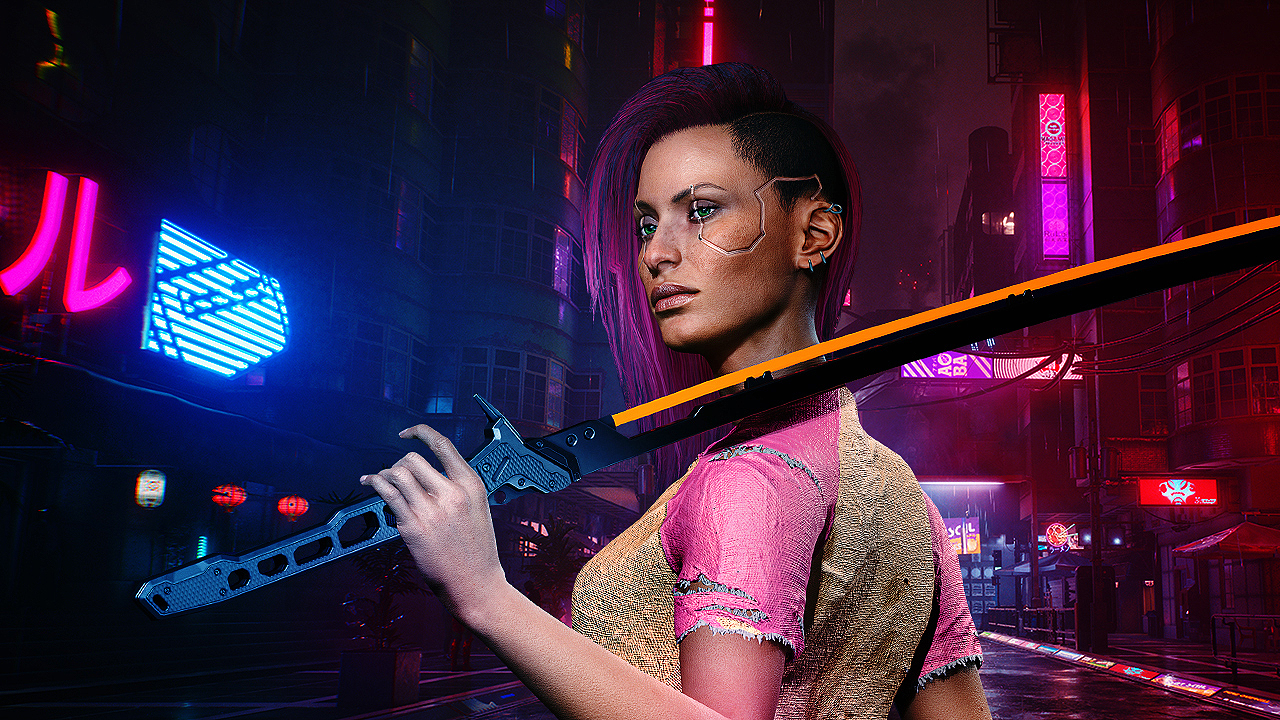
There are three types of blades in the game: Knives, long knives and katanas. The main weapon is a kind of katana. Because the steam version of the game gives you a katana at the beginning of the game (you can get it from the weapons repository in apartment V in Litte China (Watson)), you don’t have to go and get it. There are many kinds of katanas in the game.
Some of them are icons, and you have to find them during missions or side quests. Although these katanas have special characteristics, it is not clear that this is the best you can get. The best damage you can get is about 2000 DPS or maybe a little more. The best weapon models for katana are Crunch, Penetrator and Pacifier. Let’s take a look at the implants for this building.
Cyberprogram
- The control system in this building will be a sandbox. The best you can get is the Militech Falcon Sandevistan Mk.5. The only thing you need to know about sandivists is that they usually slow down for a while while while they increase the damage and the chance of bugs, but you lose your ability to hack. Militech Falcon Sandevistan Mk.5 also increases the damage caused by Krit. You can buy a Militech Sandevistan Mk.5 Falcon from Militech at the Wellsprings pumping station for 43,750 Eurodollars (20 reflexes required).
- In the area of the frontal cortex one can only heal by killing (this goes without saying). The legendary version restores 10% of health after defeating an enemy. You can buy the legendary version at Cassius in Northside (Watson) for 35,000 euros (18 reflexes required).
- The eyepiece system will be Kiroshi Optics Mk.3. You can get Victor in Little China for 5000 Eurodollars (requires completion of the secondary quest paid in full).
- For bike modifiers, I first chose the legendary biomonitor, which restores your entire health bar when your health reaches 15%. You can get the scammer at Camp Aldelcados (Badlands) (18 bodies required). For the second slot, I chose the legendary adrenaline booster. It can restore 50% of endurance after defeating an enemy. You can get them at the Baka Kabuki clinic for 28,000 euros (18 bodies needed). For the third niche I chose the legendary Sin Lung, which increases stamina by 25%. Available for 7000 € at ripperdoc in Heywood (Wellsprings) (you can also get the legendary Second Heart here for 42000, but since you already have Biomonitor, that would be a waste of Swirls).
- The immune system is needed in this building. The legendary Cataresis and Pain Editor are essential mods. Cata-resist increases all resistors by 35% for 14.000 euro. Pain Editor reduces all incoming damage by 10% for 28,000 euros. Both programs are available at Finger’s M.D. in Japantown, Westbrook (both programs require 16 Cool).
- In the Nervous System section, you can boost the control system with epic nanorelays that extend the duration of the active sandevista. For the second niche I chose legendary neofibers for +15% breakaway. Nanorele is available for 20,000 euros, Neofibres for 7,000 euros. Both adaptations can be found in the Octavio d’Arroyo Clinic in Santo Domingo (both require 18 reflexes).
- The integrated system offers many different possibilities. The only thing you absolutely must have is the legendary belly armor, which gives you an armor of 200. The price is 14.000 euro and can be bought from Dr. Chrom on the Kabuki (Watson) market.
- For the skeleton, the best options are the legendary Synaptic Signal Optimizer, which gives +60% maximum health (requires 20 bodies), and the legendary Microrotors, which gives +25% attack speed (requires 18 reflexes). The legendary version of the Synaptic Signal Optimizer costs 28,000 euros at the Kravis Clinic in Charter Hills, Westbrook. The legendary version of the micro-rotor is available at Ripperdoc for 14,000 euros.
- Since you won’t use any weapons (except snipers, which can be useful), the Hands mod can be anything in this construction. Personally, I recommend changing the smart link, but rarity is not important here.
- On the other hand (haha), the Legendary Mantis Blade will be a weapon mod that you can get for free after completing the Cyberpsychic Sight sub quest: The ghost of the city of the night.
- For the leg modification I opted for the reinforced tendons. Can be bought at any Ripperdoc in Nachtstad for 45.000 euro.
Game mode
Each version of Cyberpunk 2077 requires a different approach. (You can skip this part if you’re playing at normal or lower difficulty) Browse runner construction is a bit difficult at the beginning of the game (like most taggers). The strongest reason for this is that you have to face enemies in order to gain experience in the skill tree.
But in most cases it can be very difficult to get close because the vast majority of enemies are equipped with weapons. The early stages of the game require patience and clear thinking. That’s why I think playing secondary missions will help you overcome the challenges you’ll face as you progress.
The first big boost to performance comes when you get a kind of sandwich and a better katana. You’ll feel much better from now on. Personally, I completed all the side missions before moving on to the main story. When I was on level 45, I had a lot of toys to help me in battle.
It was ridiculous because all I had to do was activate my Sandeviston and everyone at the end of the show was dead (I think my strongest creature was about 90,000). In my opinion, it is one of the strongest constructions in the game. If you like carnage and non-stop main bearings, you will certainly enjoy this construction.
Related Tags:
cyberpunk 2077 multiplayer,cyberpunk 2077 pc specs