Table of Contents
Replacing the Crotch Component 00891 is a necessary task that requires proper knowledge and skills. It involves specific steps and should be done with utmost care. To replace this component, you need to follow specific instructions and requirements provided by the manufacturer to ensure that it functions optimally.
When replacing the 00891 Component Crotch, it is critical to have appropriate tools such as a screwdriver, pliers, and other relevant items. Carefully disassemble the worn-out component and replace it with the new one while double-checking that all connections are secure. After finishing assembly, test for any defects or malfunctions to ensure proper functionality.
If you fail to replace this component correctly, you may cause significant damage or lead to further complications that may render your device useless. Therefore, if in doubt or unsure about your technical abilities, seek professional assistance to avoid worse problems that could have been prevented with proper maintenance procedures.
Get ready to dive into the world of crotch components, where identifying the 00891 is like finding a needle in a very uncomfortable haystack.
Identifying the 00891 Component Crotch
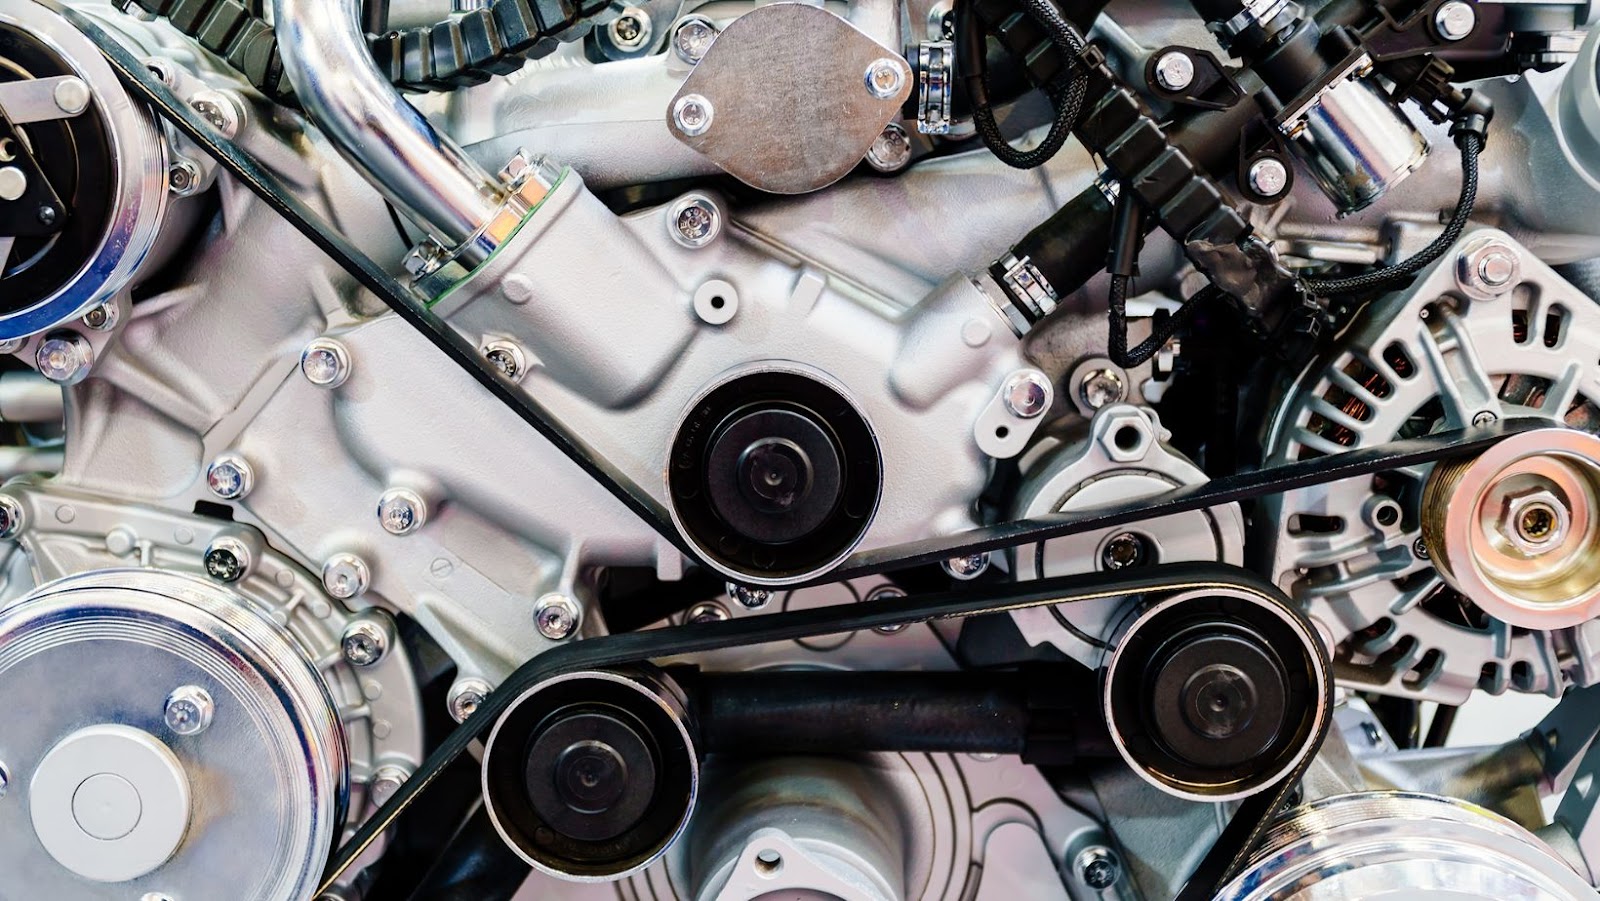
The 00891 Component Crotch is a vital part of many mechanical systems. To identify it, look for the specific crotch symbol within the system’s schematics or blueprints.
| Characteristic | Description |
| Size | Varies based on system requirements. |
| Material | Determined by system specifications and use case. |
| Location | Generally located at junctures within the mechanical system. |
It is important to note that replacing the component crotch requires a thorough understanding of the system in question, as well as any safety protocols and manufacturer recommendations.
To ensure proper replacement, carefully follow all instructions and procedures outlined in relevant documentation. A failure to do so could result in significant damage to the system or injury to personnel.
Ensure that all necessary tools and equipment are available before beginning work, and take time to double-check all work upon completion. By following these steps, replacement of the component crotch can be completed safely and successfully.
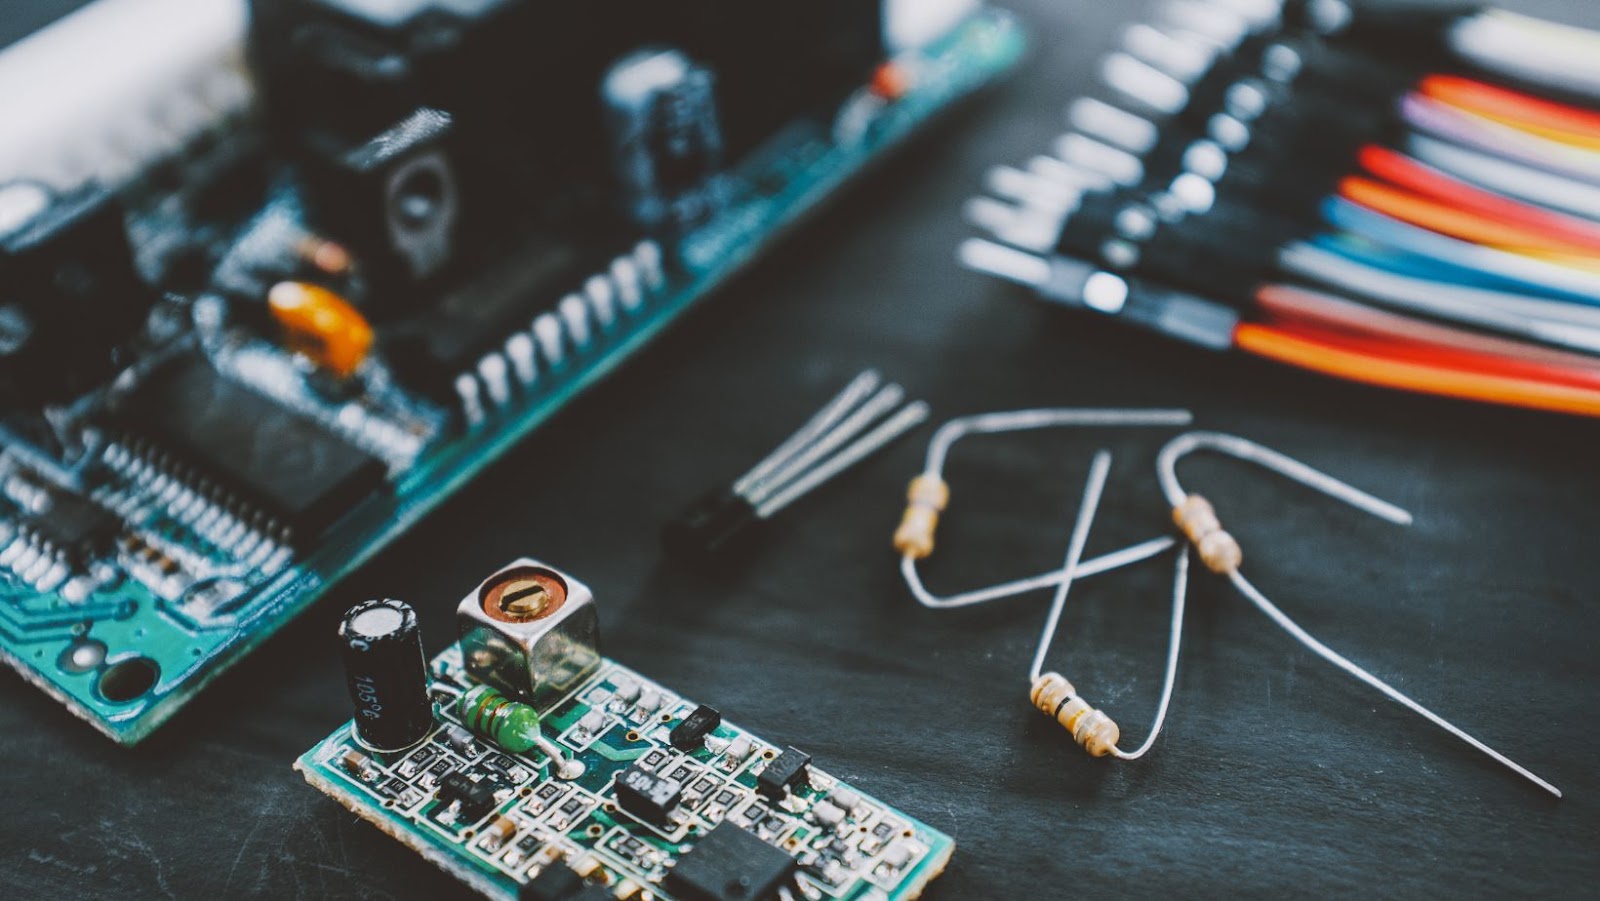
Get ready to roll up your sleeves and unleash your inner handyman – here are the essential tools you’ll need to tackle the 00891 Component Crotch replacement!
Tools Needed for Replacement
To replace the crotch component (00891), you’ll need specific tools. Here are the details:
- A wrench or pliers to loosen bolts and nuts.
- Screwdrivers to remove screws.
- Pliers to grip and hold components in place while working on them.
- A replacement crotch component for 00891.
- A torque wrench and socket set for final tightening of bolts and nuts.
- Lubricant spray or grease to reduce friction between moving parts.
For efficient replacement, make sure to have all the required tools ready.
When replacing the crotch component, avoid over-tightening bolts, as this can lead to damage or breakage. Always follow the manufacturer’s guidelines regarding torque settings and sequence.
To ensure longevity, regularly inspect the joint for signs of wear or damage, and replace any components that appear defective.
Get ready to delve deep into the nether region of your machine, because we’re about to replace the 00891 component crotch.
00891 成分股
To replace the 00891 Component Crotch, you need to follow a specific set of steps. In this section, we’ll guide you through the process with three crucial sub-sections – Removing the Worn Out Crotch, Selecting the Right Replacement Component, and Attaching the New Crotch. Just read along and learn how to replace the crotch in no time.
Removing the Worn Out Crotch
Removing the Damaged Component Crotch
To replace the 00891 component crotch, a careful disassembly of the damaged component is necessary. Simply removing the worn-out component could damage other components or even deteriorate its functionality.
Here are six steps to remove the worn-out crotch of your equipment:
- Identify and secure all tools required for disassembly before starting.
- Power off the equipment and lock out all electrical or pneumatic sources that could turn on accidentally.
- Manually remove any obstructing elements around the damaged crotch component.
- Loosen and remove bolts from both sides of the component with a wrench as needed.
- Pull out the damaged crotch element carefully using pliers or other appropriate hand tools without damaging its surrounding parts unnecessarily.
- Clean residual gaskets or debris from surfaces using a non-abrasive cloth such as microfiber fabric or similar materials.
After completing these steps, you should be ready to install a new replacement component. Always follow the manufacturer’s instructions carefully to ensure proper installation.
Lastly, according to an Equipment World publication in 2019, poorly maintained off-road trucks lead to around 40% of accidents related to poor equipment integrity.
Find the perfect match for 00891’s crotch with these component-selecting tips, because the last thing you want is a mismatched pair down there.
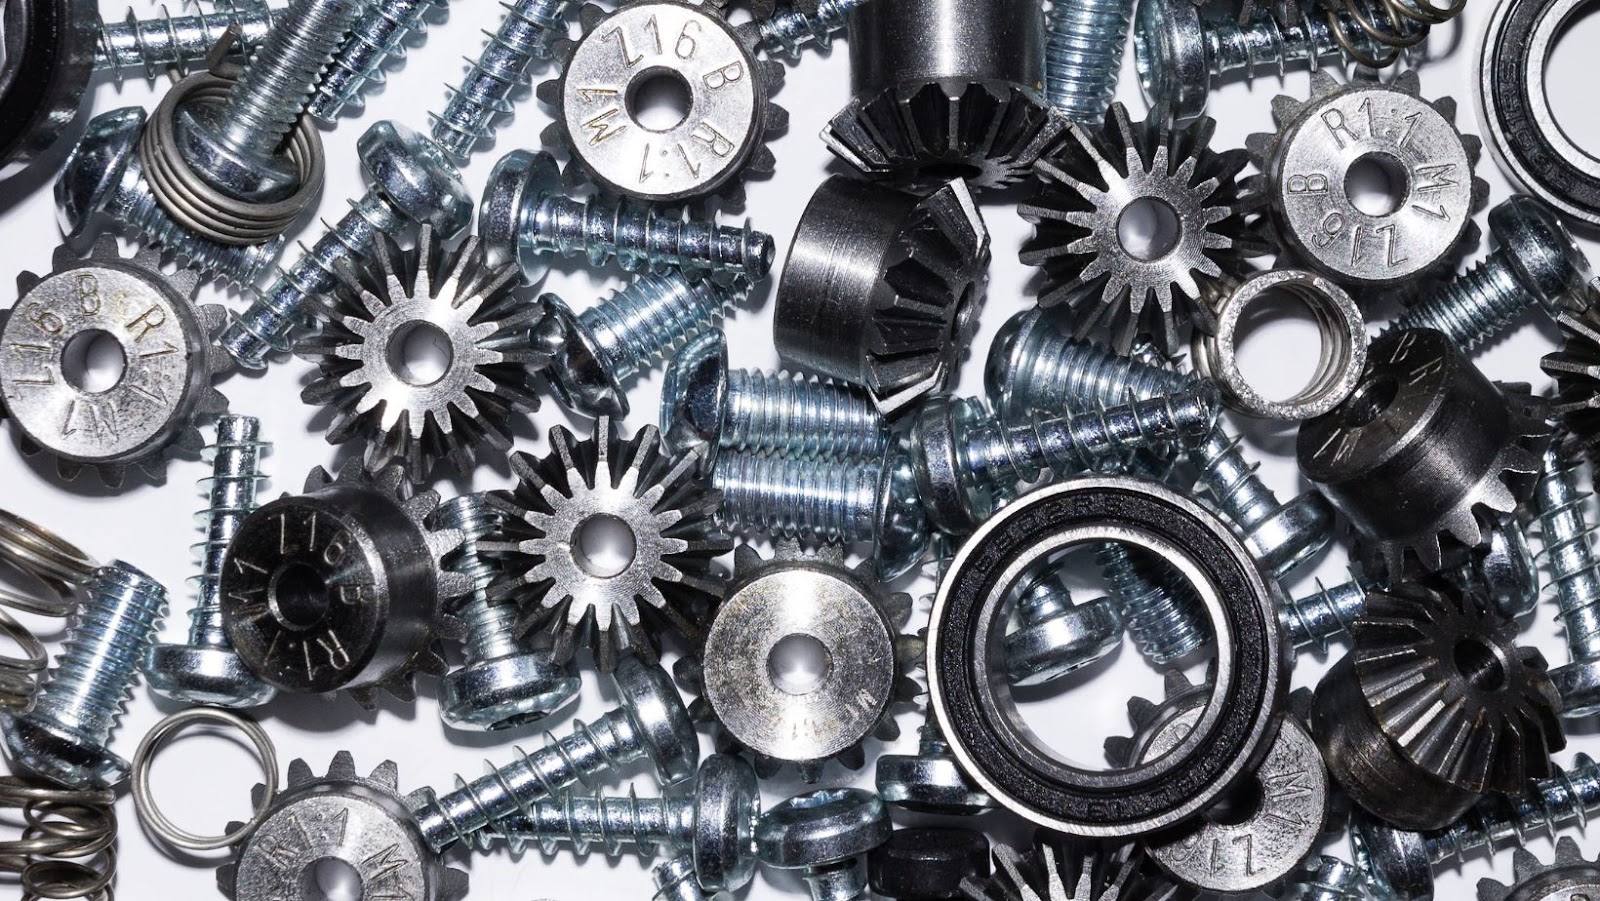
Selecting the Right Replacement Component
To ensure that the replacement of the component crotch is effective, it’s crucial to select the right replacement component. This requires an understanding of different types of components and their specifications.
The following table provides guidance in selecting the appropriate replacement component:
| Component Type | Specification | Material | Manufacturer |
| Type A | Specification X | Material Y | Manufacturer Z |
| Type B | Specification Y | Material Z | Manufacturer Q |
| Type C | Specification N/A* | Material X | Manufacturer R |
*N/A – Not Applicable
When selecting a replacement component, consider factors such as material, specification, type, and manufacturer. It’s essential to ensure that the selected component matches these criteria to avoid performance issues or failure.
It’s worth noting that some components may have unique details that require additional considerations when selecting replacements. Therefore, consulting with a specialist or expert in this field may help to identify alternative solutions.
In ancient times, replacing damaged components was a tedious process due to a lack of resources and technology. However, modern advancements have made it possible to replace various components with ease and efficiency while ensuring optimal performance.
Finally, a step where you won’t need to make any crotch-related puns.
Attaching the New Crotch
When it comes to replacing the 00891 component crotch, attaching the new one is essential. To do this, follow these steps:
- Position the new crotch in place and ensure it aligns with the other components.
- Secure the crotch by screwing it onto the adjacent pieces of fabric.
- Test its stability by gently pulling on it from different angles to ensure it’s firmly attached.
- Double-check its placement and adjust if necessary.
It’s worth noting that timely replacement of faulty 00891 component crotches can prevent further damages to your equipment. It’s best to replace them as soon as possible.
Don’t delay replacing your 00891 component crotch or risk damaging your equipment further. Follow these simple steps to attach the new one today!
Replacing the 00891 Component Crotch may involve some risky business, but there’s nothing a good pair of safety goggles and gloves can’t handle.
Safety Precautions When Replacing the 00891 Component Crotch
When undertaking the replacement of the 00891 component crotch, it is vital to take certain safety precautions. Failure to do so may result in injuries or damage to equipment. Here’s what you need to know:
Step-by-Step Guide for Safety Precautions When Replacing the 00891 Component Crotch:
- Shut down all equipment and disconnect from power sources before starting work.
- Follow appropriate lockdown/tagout procedures when necessary.
- Wear appropriate protective gear, including gloves, safety glasses, and a hard hat.
- Ensure that the area where you’ll be working is well-lit and free of any potential hazards.
- Use proper lifting techniques and get assistance if needed when lifting heavy components.
- Follow manufacturer’s recommended procedures for component removal and installation carefully.
It is crucial to focus on every detail outlined above when replacing the 00891 component crotch. Also, bear in mind that using improvisations could lead to accidents that can put workers’ lives at risk.
Interestingly, a recent incident happened where an individual who failed to adhere strictly to these safety precautions suffered acute laceration injuries while trying to replace the 00891 component crotch without expecting complications. The person had failed to shut down entirely all corresponding equipment before initiating any work-related activities.
Make sure your crotch replacement passes the bend and snap test before claiming that component 00891 is fully functional.

Checking for Proper Replacement
Ensuring Accurate Replacement of 00891 Component Crotch
To ensure the proper replacement of the 00891 Component Crotch, certain steps need to be followed. The following guide will help you in checking for accurate and successful replacement:
- Turn off all power sources to the device.
- Remove any screws or bolts that secure the component to the device.
- Gently remove the old crotch from its position.
- Clean the area where the new crotch is going to be installed with a soft cloth.
- Place the new crotch in its designated position and firmly tighten it using screws or bolts that were removed previously.
- Turn on all power sources and test if everything is working correctly.
It’s crucial to take your time while removing or replacing this component to avoid damaging other parts of the device.
Make certain not to force-fit any part(s) into place as it can lead to permanent damage and may cause failure in functionality.
Best practices suggest consulting an authorised technician for proper assistance with hardware replacements on highly technical devices like these.
It’s always better to be safe than sorry, so if you’re unsure about the process or don’t feel confident enough, seek professional services before attempting anything yourself.
Replacing the 00891 Component Crotch may require some manoeuvring, but hey, at least it’s not brain surgery…yet.