Do You Have to Bleed Drum Brakes After Replacing Shoes
When it comes to replacing the shoes on drum brakes, one question that often arises is whether bleeding the brakes is necessary. The answer to this question depends on a few factors. In some cases, bleeding the brakes may be required after replacing drum brake shoes, while in others it may not be necessary.
If you are simply replacing the shoes and not disturbing any other brake components, such as the wheel cylinders or brake lines, bleeding the brakes may not be needed. However, if you notice air bubbles in the brake fluid or experience spongy pedal feel after replacing the shoes, it’s a good idea to bleed the brakes.
Remember, when in doubt about whether to bleed your drum brakes after replacing shoes, consulting your vehicle’s owner manual or seeking advice from a professional mechanic can provide valuable guidance specific to your vehicle’s make and model.
Inspecting the Drum Brakes
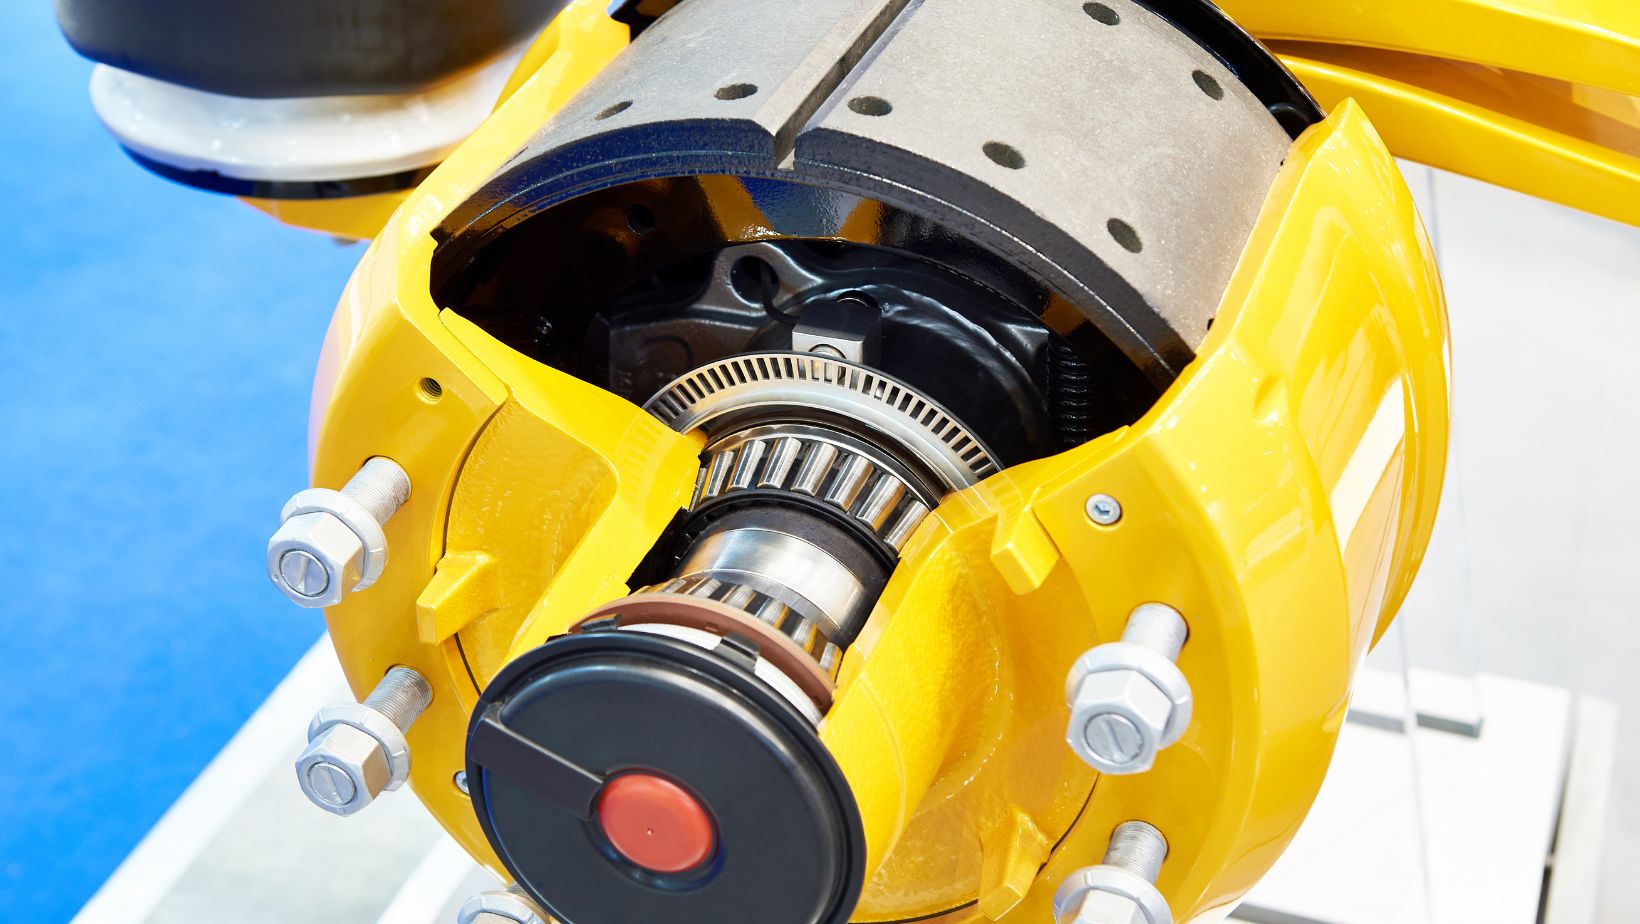
When it comes to drum brakes, inspecting them properly is crucial for ensuring their optimal performance. Here are a few steps to follow when inspecting your drum brakes:
- Visual Inspection: Start by visually examining the drum brake components. Look for any signs of wear or damage, such as grooves, cracks, or excessive rust. Pay close attention to the brake shoes and check if they are worn down evenly.
- Measure Brake Shoe Thickness: Using a brake shoe gauge or caliper, measure the thickness of the brake shoes. Compare the measurements to the manufacturer’s specifications to determine if they need replacement.
- Check Wheel Cylinder: Inspect the wheel cylinder for any leaks or signs of fluid buildup around it. A faulty wheel cylinder can lead to braking issues and should be replaced if necessary.
- Assess Drum Condition: Examine the drum surface for scoring, deep grooves, or uneven wear patterns. If there are significant imperfections on the drum surface, it may need resurfacing or replacement.
- Inspect Springs and Adjusters: Ensure that all springs are in place and functioning correctly. Check adjuster mechanisms for proper operation and make sure they move freely without binding.
Remember that regular inspections can help identify potential problems early on and prevent more extensive damage to your drum brakes in the long run. If you notice any concerning issues during your inspection, it’s essential to address them promptly by replacing worn-out components or seeking professional assistance.
Removing the Old Brake Shoes
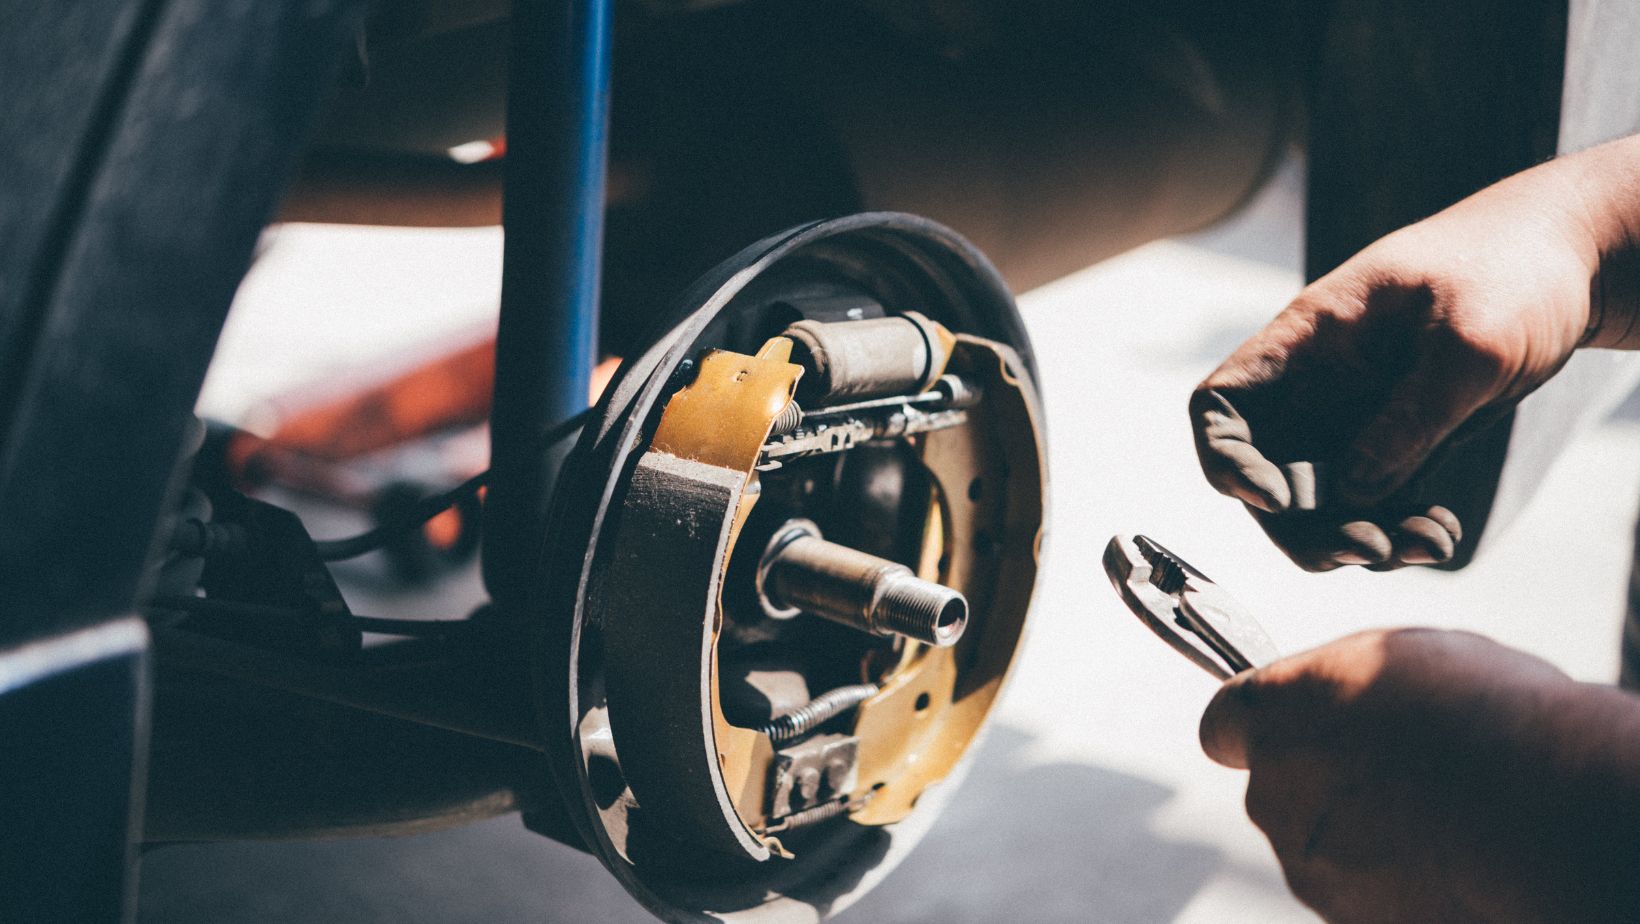
When it comes to replacing drum brake shoes, one of the first steps is removing the old ones. It may seem like a straightforward process, but there are a few key things to keep in mind to ensure a smooth and successful removal.
Firstly, make sure you have all the necessary tools on hand. This typically includes a jack and jack stands for lifting and supporting the vehicle, as well as basic hand tools such as wrenches and pliers. Safety should always be a top priority, so wearing gloves and eye protection is highly recommended.
To begin, locate the brake drum on the wheel assembly. In some cases, you may need to remove the wheel itself in order to access the drum. Once you have clear access to the drum, inspect it for any signs of damage or excessive wear. If there are any issues with the drum, it’s best to address them before proceeding with replacing the shoes.
With the retaining hardware removed, gently pull out each brake shoe from its position within the drum. Be mindful of any tension from springs or other components that may still be attached. It’s important not to force anything during this process; instead, use gentle movements and slight wiggling if needed.
Once both old brake shoes have been successfully removed, take a moment to inspect them for wear patterns or damage. This can provide valuable information about your braking system’s condition and help identify any underlying issues that may need attention.
In conclusion: Removing old brake shoes requires patience, attention to detail, and proper tools. By following these steps carefully and taking note of any potential problems along the way, you’ll be well on your way to successfully replacing drum brake shoes.